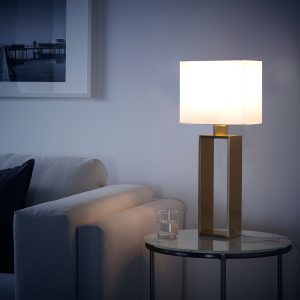
DIY Wooden Lanterns: Shedding Light on Your Creativity
Wooden lanterns are unique home decor items that can add a cozy and warm feel to your living space. They can be used both indoors and outdoors, and can be customized and personalized to suit your taste and style. Making wooden lanterns yourself is a fun and rewarding project that allows you to flex your creativity and try out new DIY skills. In this article, we will guide you through the process of making your own wooden lanterns, step by step.
Materials
To make your wooden lanterns, you will need the following materials:
- Wooden boards or planks
- Glass panes or plexiglass sheets
- Screws, nails, or glue
- Wood stain or paint
- Drill and saw
- Candle or LED light
Step 1: Plan and Design
Before you start building your wooden lanterns, it’s a good idea to plan and design them on paper first. Decide on the size and shape that you want your lanterns to be, and sketch out a rough blueprint. This will help you visualize the finished product and make adjustments as needed.
Step 2: Cut the Wood
Once you have your design ready, it’s time to cut the wood for your lanterns. Use a saw to cut the wooden boards or planks according to your measurements. If you’re using different types of wood, make sure they are all of the same thickness for a more uniform look.
Step 3: Assemble the Frame
Next, you’ll assemble the wooden frame of your lantern. Use screws, nails, or glue to secure the pieces of wood together. If you want to add decorative trim, do so at this stage. Once you have the basic frame constructed, sand it down gently to remove any rough edges.
Step 4: Add Glass Panes
Now it’s time to add the glass panes or plexiglass sheets to your lantern. Measure the width and height of each side of your frame, and use the measurements to cut the glass to size. Secure the glass panes in place using screws or clips. If you’re using plexiglass, use a drill to make holes for the screws.
Step 5: Finish the Lantern
Finally, it’s time to finish your wooden lanterns. You can stain or paint them to match your decor or give them a unique look. Use a paintbrush or rag to apply the stain or paint in long, even strokes. Allow the finish to dry completely before inserting the candle or LED light.
Making your own wooden lanterns is a fun and easy DIY project that can bring warmth and charm to your home. With just a few basic materials and tools, you can create a beautiful and functional piece of decor that reflects your personal style. Follow the steps outlined in this article to create your own unique wooden lanterns and enjoy the warm glow they bring.


