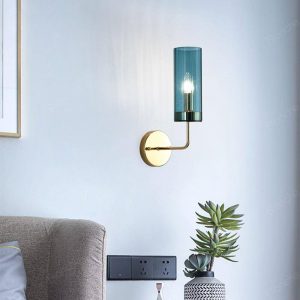
DIY sconces: Illuminate your space with personalized wall fixtures
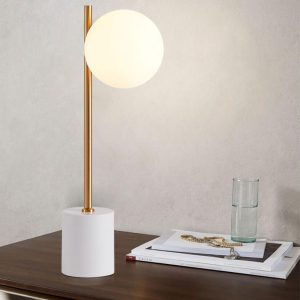
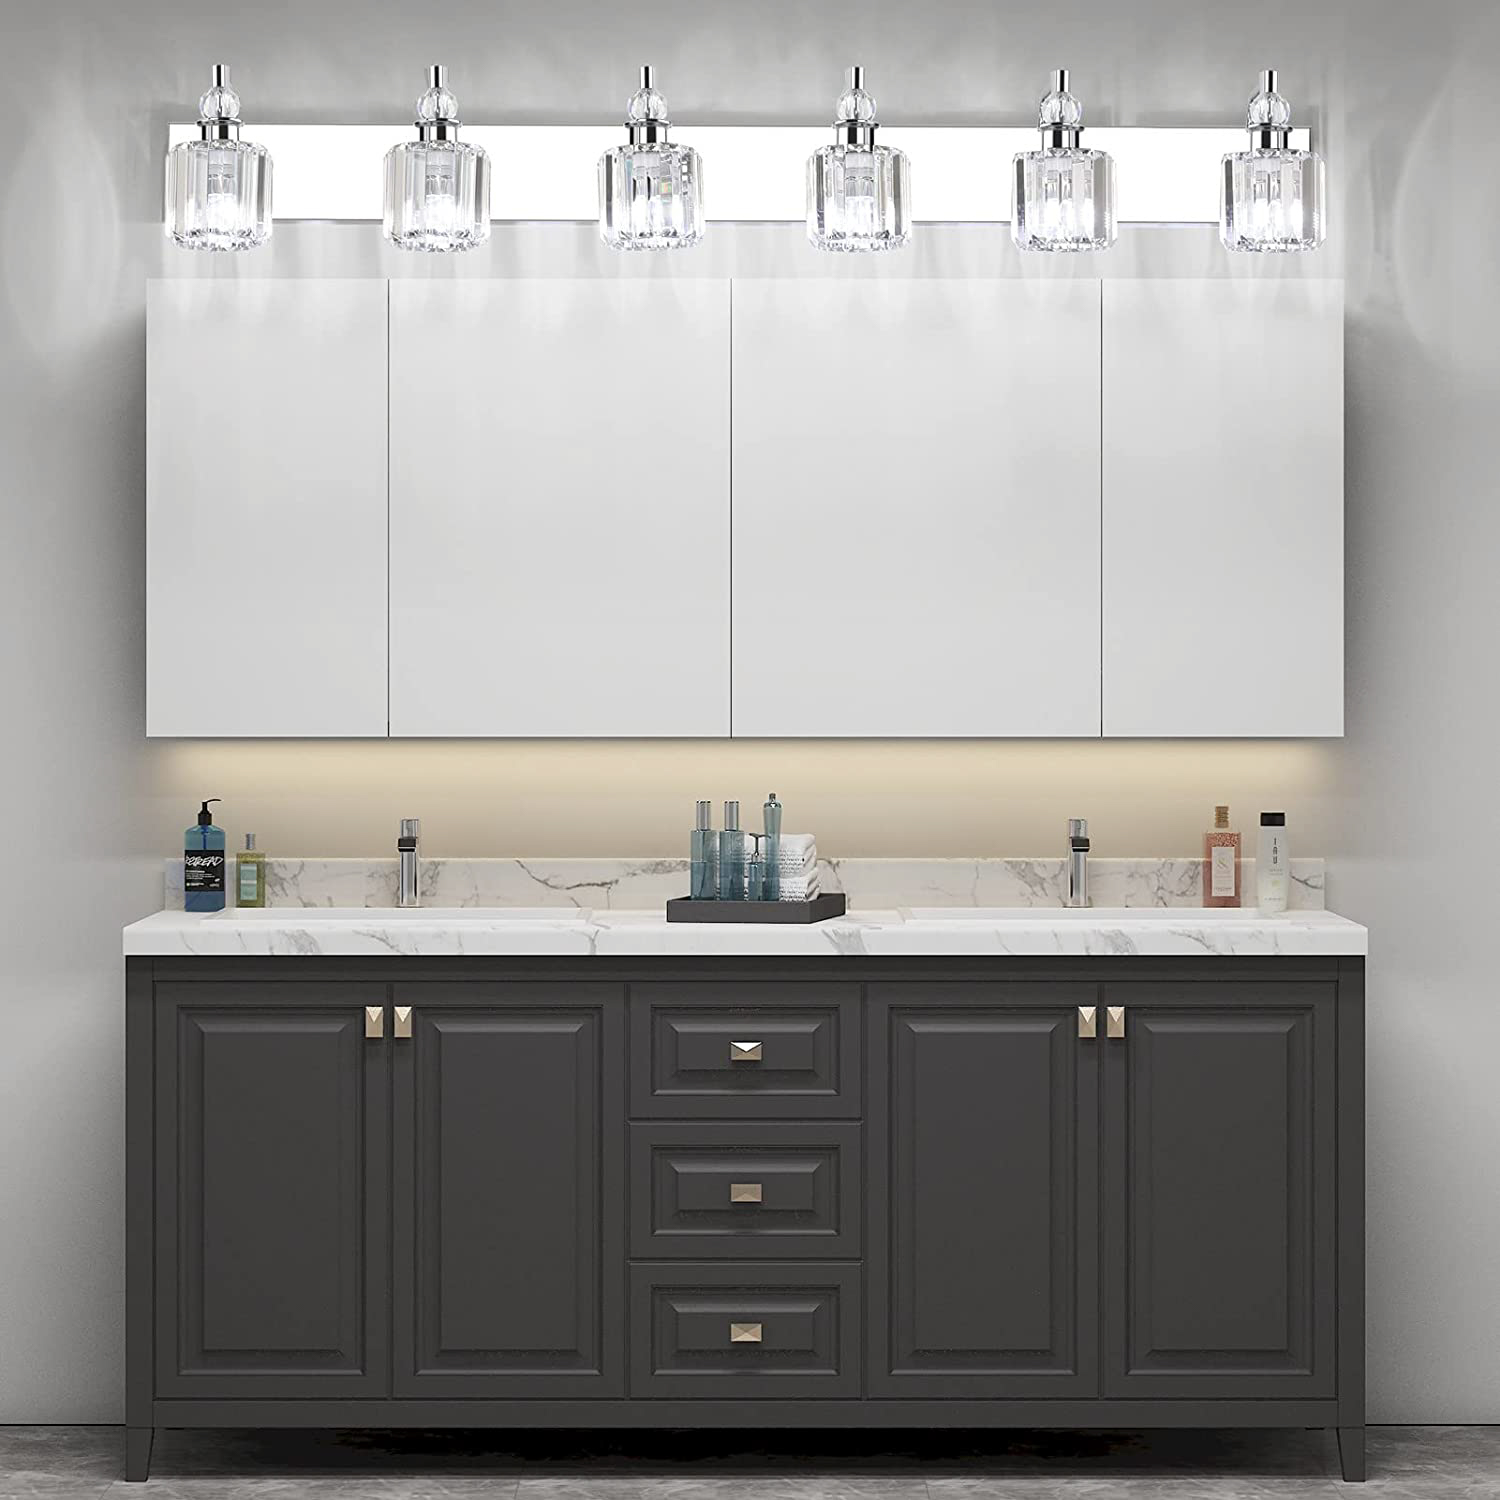
Sconces are wall-mounted light fixtures that add style and functionality to any space. They provide ambient lighting and can be used to highlight artwork, accent walls, or other decorative features in a room. If you’re looking to add a personal touch to your home decor, DIY sconces are a great option.
In this article, we’ll cover the basics of DIY sconce-making, including the tools and materials you’ll need, as well as a step-by-step guide to making your own sconces. We’ll also provide some creative ideas for customizing your sconces and making them uniquely yours.
What You’ll Need
Before you get started making your DIY sconces, you’ll need to gather the necessary tools and materials. Here’s a list of what you’ll need:
- Wooden plank or board
- Light fixture (either purchased or repurposed from an existing fixture)
- Drill with a spade bit and a hole saw bit
- Screws and anchors
- Wire strippers and connectors
- Electrical tape
- Sandpaper and paint or stain (optional)
Step-by-Step Guide to Making Your DIY Sconces
1. Cut your wooden plank or board to the desired size and shape for your sconces. Sand the edges and surface of the wood to smooth out any rough spots.
2. Use a spade bit to drill a hole in the center of the board where you want the light fixture to go. The size of the hole should match the diameter of the fixture you’re using.
3. Use a hole saw bit to drill a hole in the back of the board where the wires will come through. The size of this hole should be slightly larger than the diameter of the wires.
4. If you’re using a repurposed light fixture, remove the wires and any other parts that are not needed. If you’re using a new fixture, follow the manufacturer’s instructions for wiring.
5. Feed the wires through the hole in the back of the board and attach the fixture to the front using screws and anchors.
6. Use wire strippers to remove the insulation from the ends of the wires, and connect them to the wiring from the electrical box using wire connectors. Be sure to follow proper wiring practices and secure all connections with electrical tape.
7. Sand the surface of the wood and paint or stain it to your desired finish, if desired.
8. Mount the sconces on the wall using screws and anchors, and connect them to a power source.
Customization Ideas
Now that you know how to make your own DIY sconces, it’s time to get creative! Here are some ideas for customizing your sconces and making them uniquely yours:
- Use different types of wood, such as reclaimed wood or live-edge wood, for a rustic or natural look.
- Add decorative details, such as etched designs or cutouts, to the front of the sconces.
- Paint or stain the wood in different colors or patterns to match your decor or add visual interest.
- Use unique or repurposed light fixtures, such as vintage or industrial fixtures, to add character and charm to your sconces.
- Install dimmer switches to control the level of light and create different moods in your space.
DIY sconces are a fun and easy way to add personalized lighting to your home decor. With just a few tools and some creativity, you can create beautiful and functional wall fixtures that perfectly suit your style and needs. Whether you go for a simple and sleek design or a more ornate and detailed one, your DIY sconces are sure to be a source of pride and enjoyment in your home.